Showing posts with label mountain living. Show all posts

Sunday, June 9, 2019

A Bluebird Feature Wall


Hello Lovely People! I apologize for the delay in getting this post out, but you know, adulting is hard.  Also, yes- I am experiencing an issue with mismatched fonts and mismatched word sizing.  Apologies- it bugs me too.  
So anyway, last Friday night I decided to paint my entryway wall. I wanted a feature wall that would provide some much needed color since somehow we amassed a collection of home decor items from people that are all brown.  Couple that with the ‘Crisp Linen’ walls and that is just too much boring for my wannabe Boho artist’s soul.

Entryway Feature Wall- Before


TV Area-Before
According to my girl crush Amanda Gibby Peters at Simple Shui, attention to your entryway is the one of the biggest ways to clear and allow new energy to your life aside from clearing clutter. If you do not follow her, I highly suggest you do so. I LURVE her! My sister met her on a trip to Morocco and told me all about her when she returned. I immediately went online and found her and have been following her ever since. 
Anyway, my entryway is an open space that spills out into our living room upon entering and when I pitched the idea to Mr. CML, he immediately said he was afraid it would close in the space. I got a little huffy and said, “No- not if you do it right. “ I went straight to the land of messed up, nonsensical dreams. Legit, my dreams are totally fooked. So screwy, but that’s a story for another time. I had to decide between these two colors I found on Pinterest.

Blue Paint Inspo- Image Via Pinterest
Green Paint Inspo- Image Via Pinterest


Gallery Wall Inspo- Image Via Pinterest

Fast forward to Saturday morning. I ignore the husband’s hesitations (also, he never gave me his opinion on which color) so I made the trek to the local hardware store where I gather my supplies. While my paint is being mixed, I wander around to find all the hardware I need for my DIY art hanging apparatus and then some. I totally ignore the garden center- Ain’t nobody got time for that. I found a random screen door protector and self tapping screws for our screenless patio door. We’ve been living la vida loca with no screen in our patio door for like 2 years. Can you say ‘ghetto’? Looks way better now. It's amazing how completing little tasks like this makes a huge difference in your peace of mind.


Repaired screen with new grate 

My Little Screen Door Model
At the hardware store, I found a lot there that I told myself was frivolous., that I didn’t need it. I’m also seeing all kinds of things that one could use for making art if you just looked at it in a different way. I found things you could use as stencils, things you could turn into candle holders...On and on. I also am pretty consistent with checking for mis-tints. None that day *insert sad face* 
   Anyway, I get to the checkout line and I’m all prepared to leave when I open my wallet and find my debit card missing. My heart fluttered and I panicked for a brief moment when I realize the last time I used it was in Walmart. So I had the lady suspend the transaction and I ran home, found my card right where I never leave it and came back to pay for it all. Finally I was ready to start! I moved the furniture, washed the wall, taped off the baseboard and removed the outlet plate.
  The first coat was very blue. In my mind I had pictured something a little more towards navy. However, when I went to pick out paint swatches, everything seemed too purple. I knew Mr. CML would NOT approve. I was really hoping for one coat coverage, but I had to apply two coats. While I waited for the first coat to dry I painted the trim piece that I would be using for my art hanging system. I will have another post on the art hanging system separately. I let everything dry while I ate lunch and then returned to apply a second coat. I got nervous at the first coat, but I kept telling myself that it will dry darker.

First Coat- REALLY bright blue!
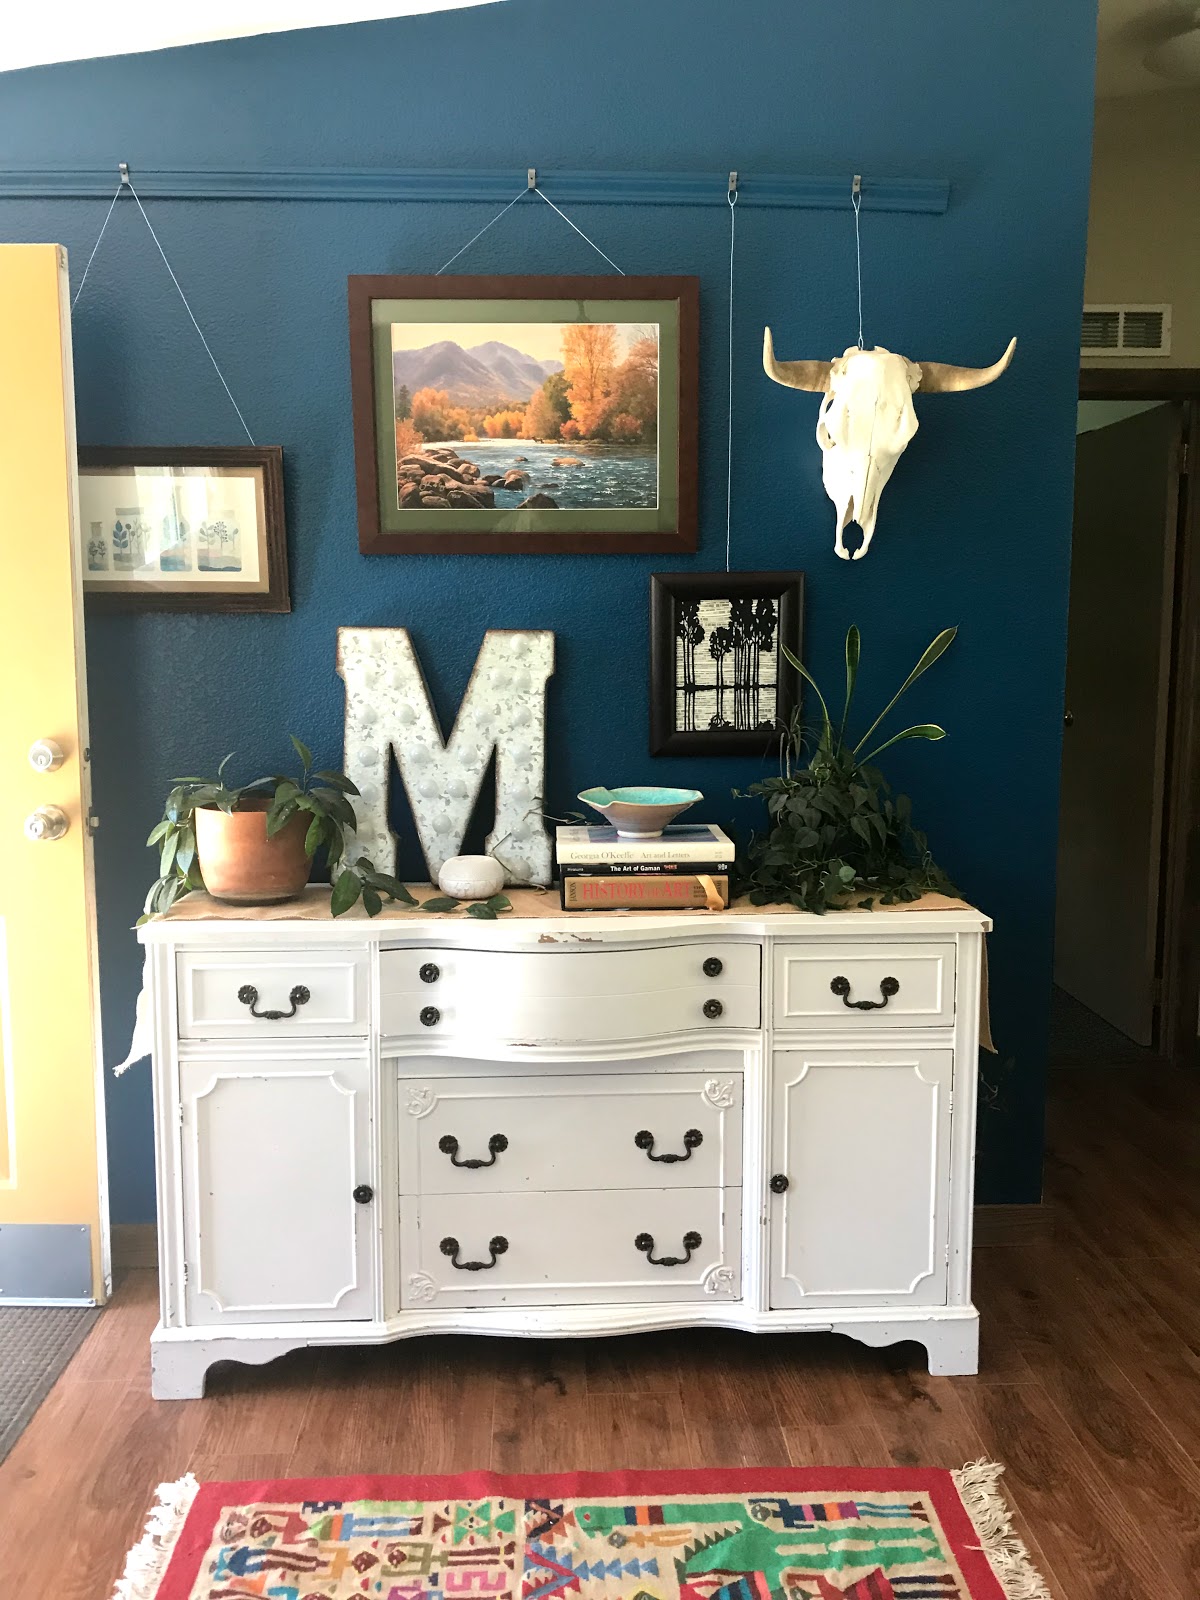
Errybody.....I could not love it more! Even Mr. CML came around once it was almost done drying. He laughed and joked that he ‘must assimilate!’ I basically ignored his concerns about the whole thing and carried on with my plan anyway. In order to compromise, (because I’m a cool cat like that) I decided to move the dresser-turned-entertainment center to the feature wall and then put the TV on the bookcase. That way the white would tone down some of the blue a tad.  

TV Dresser Switched Out to Entryway

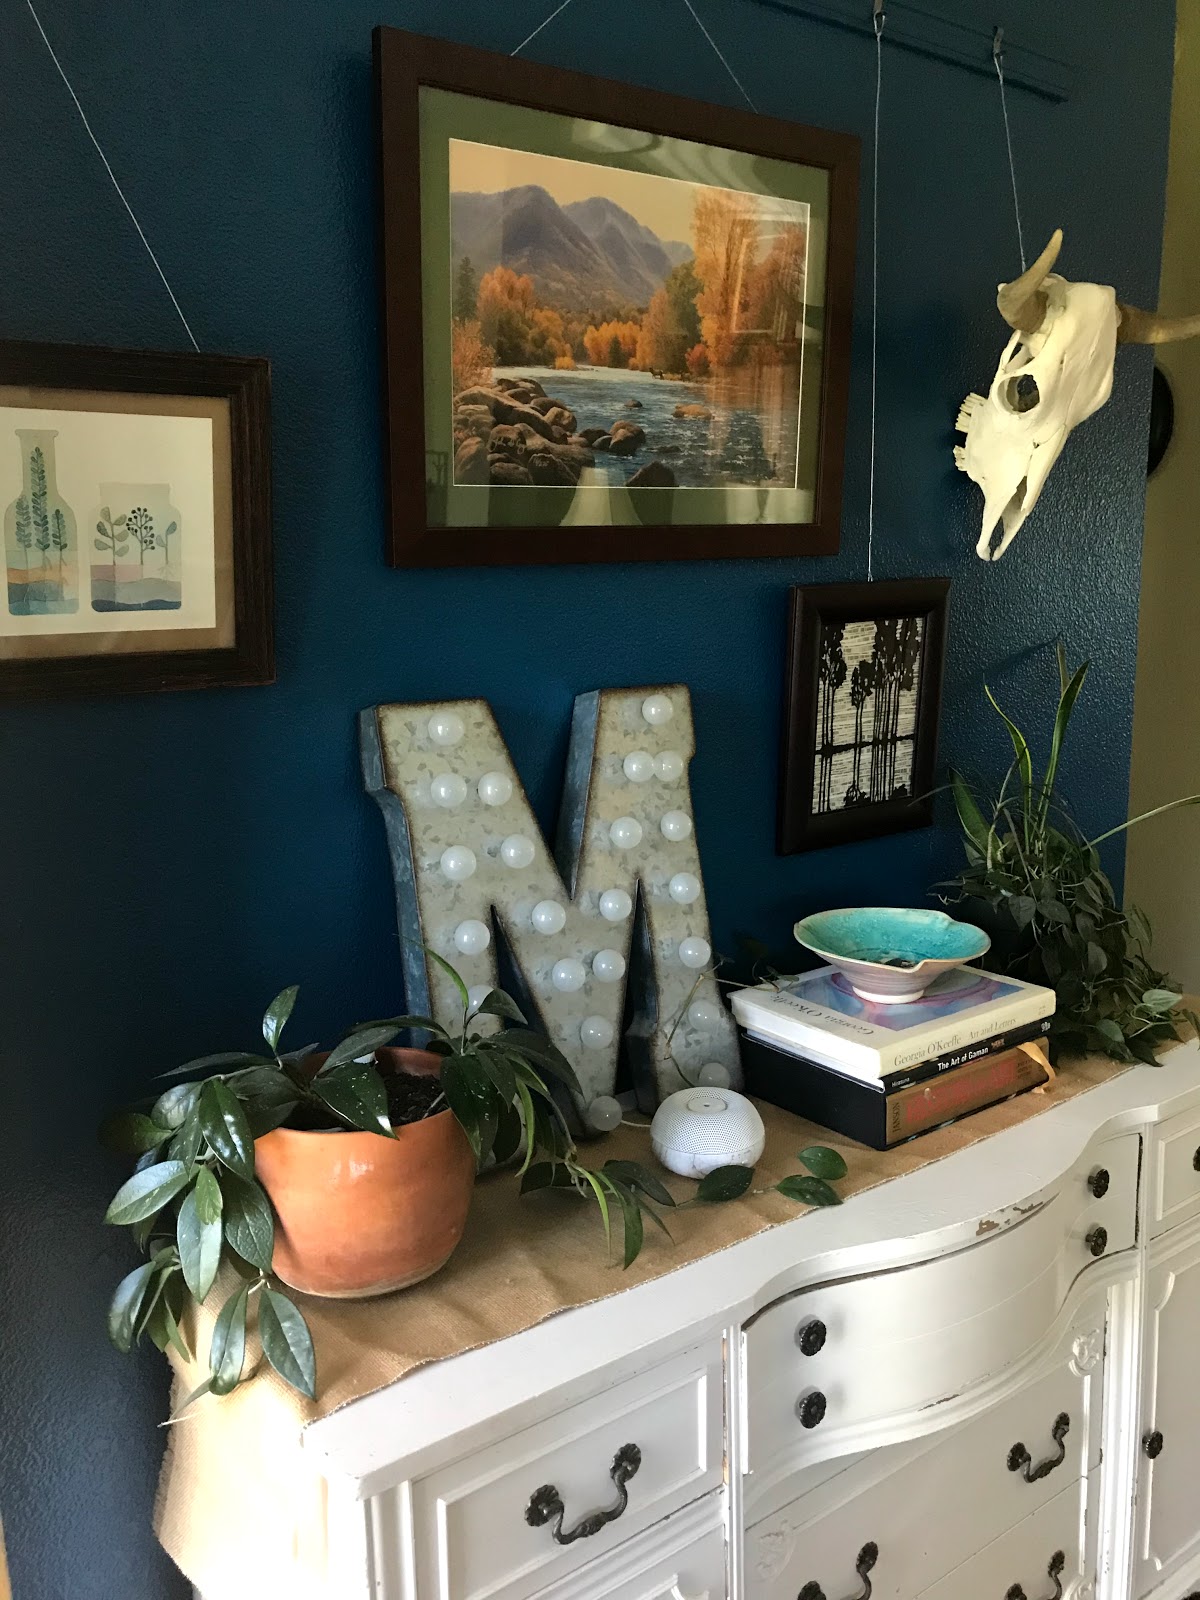
New feature wall with DIY art gallery hanging system

I will be sure to have a post on my DIY art gallery hanging system that is HUNDREDS of dollars cheaper than what you can find online- I love having the option to switch stuff out now without damaging my walls or spending so much money on Command Strips...


DIY metal marquis letter- a past favorite I created


I love how open it makes that side of the room!


Bookcase and dresser swapped places


Check out these before and afters! We are both energized by the color vibe and I simply can’t wait to see what kind of art gallery walls I’m able to create here. Would you go blue or would you have chosen green? 


Left- Before, Right- After

Peace, Love and Paintbrushes,


Thursday, May 9, 2019

Fun & Creative Mother's Day Gifts


Happy Mother's Day Mommas!

Hand painted drawings on cards and garden rocks make for some fun gift ideas.  Pair them with some plants and/or a culinary gift basket for a unique MD gift.  This is a great way to involve the smaller children and to keep them busy, but short enough to complete within the toddler attention span time frame. 


Peace, Love & Paintbrushes,


Thursday, April 25, 2019

Calligraphy Practice on the Porch

  I have always disliked my handwriting.  I tend to want to blame my parents for not making me practice harder when I was learning penmanship in elementary.  The truth is, it was my choice to skate by and be average.  I just liked the Big Chief notepads and the weird paper they were made of and I did't really care how neat my writing was. Remember those pads of paper?  I wonder if they still make them.  I am going to find out and if so- I am gonna buy a pant-load of them and use them for more practice.  Maybe Colt can play along too.   

Anywhoo, I have been working towards embracing the ugly writing, especially when it comes to my scrapbooking. I have always been pretty interested in calligraphy.  We did a unit on it in high school English class my senior year and since then I have been hooked at trying it.  I want to practice more artsy ways to enhance my handwriting and found this book at the Target in Montrose.

Calligraphy Made Easy by Ashlee Gardner

Lettering and handwritten trends are all the rage and I too love the look of it all.  You can find hand lettering on everything from prints and art to letters and scrapbook paraphernalia. There are tutorials and practice sheets all over Pinterest, but this book and these brush tip markers were conveniently displayed right next to each other. All for around $25 I made the small investment to start working on getting fancy with my writing skills.
I like to sit on the porch when it is nice and practice some of my art skills that don't require a lot of supplies and the book conveniently has the worksheets built right in.  I typically don't like writing in books, but whatever.  This one isn't like something I plan on getting rid of, so no one but me will see my doodling.

This is as far as I made it while Colt was in the bathtub.  Page one.  Exercise one.

Author's Workbook Page
My Practice Page


I took about 10 minutes to work on this.  I realized the importance of practice by doing this page.  Many times I wanted to go really fast, but I realized that it takes time to make the strokes and each one is almost like a drawing in and of itself.  I have heard many people say that lettering each letter and each stroke is something you have to think of like art, rather than penmanship.  To take your time and focus.  Some of my curls were WAY out of control, but this was fun to do and very quick practice for the short period of time I had to do it in.  

The author's example
?????


My practice...WTF is that on the bottom? HAHAHA!
It doesn't take much time or much money to find ways to be creative.  I suppose you could even find tons of stuff on the interwebs to make it free or nearly free even.  I look forward to practicing more and getting to the exercises that will use the brush tip markers.  They are SO pretty and SO colorful!  Crayola is the best.  I  <3 them.  

Crayola makes some great inexpensive art supplies!
Lookit the colors!!

So whatcha think?  I have a ways to go...but it's fun none the less.


Peace, Love and Paintbrushes,


Wednesday, April 24, 2019

Simple Front Door Update


It's springtime in the mountains!
One minute it is in the 50's, the next it is snowing.  I took advantage of some of that higher temperatue moments of last weekend and refreshed my front door.
Last summer we painted our house (ourselves) and I had the front door paint picked out.  I purchased it in the fall, but only to have it sit on the counter so long that it became too cold to paint.  Finally, it was nice enough that I was able to get 'er done.

Before Front- Please ignore the severe drought lawn.  

Before Back

WIP Paint Job

After- Front, grass looks a tad better.


After- Back (minus the trim paint)
 

I made this house number thingy
I made the house number thingy by the door out of two pieces I picked up 50% off at Hob Lob and screwed them together.  Then screwed them directly on to the house. I cut the numbers using my vinyl cutting machine. I like the idea of switching out the greenery for flowers in the summer or leaves in the fall.  Last Christmas I put in some pine and spruce tree boughs from the slash/burn pile here in the subdivision.

I finally got around to painting the front door last weekend.  I am loving the dramatic difference that just a bit of paint and some elbow grease has on this place!
Before
After- Paint, flowers and a new doormat


Before
After
                          
Before- Door number thingy
After- Flowers and a 'wreath'


We still have some touch up under the door- or we may not do it....  We plan on adding some rusty corrugated steel panels this summer to help with future winter snow loads.  Something has to be done to help with winters that make our house look like this:


What is your favorite way to add curb appeal each spring?

Peace, Love and Paintbrushes,

Sunday, April 7, 2019

'Round Here


Spring?!?!?!?


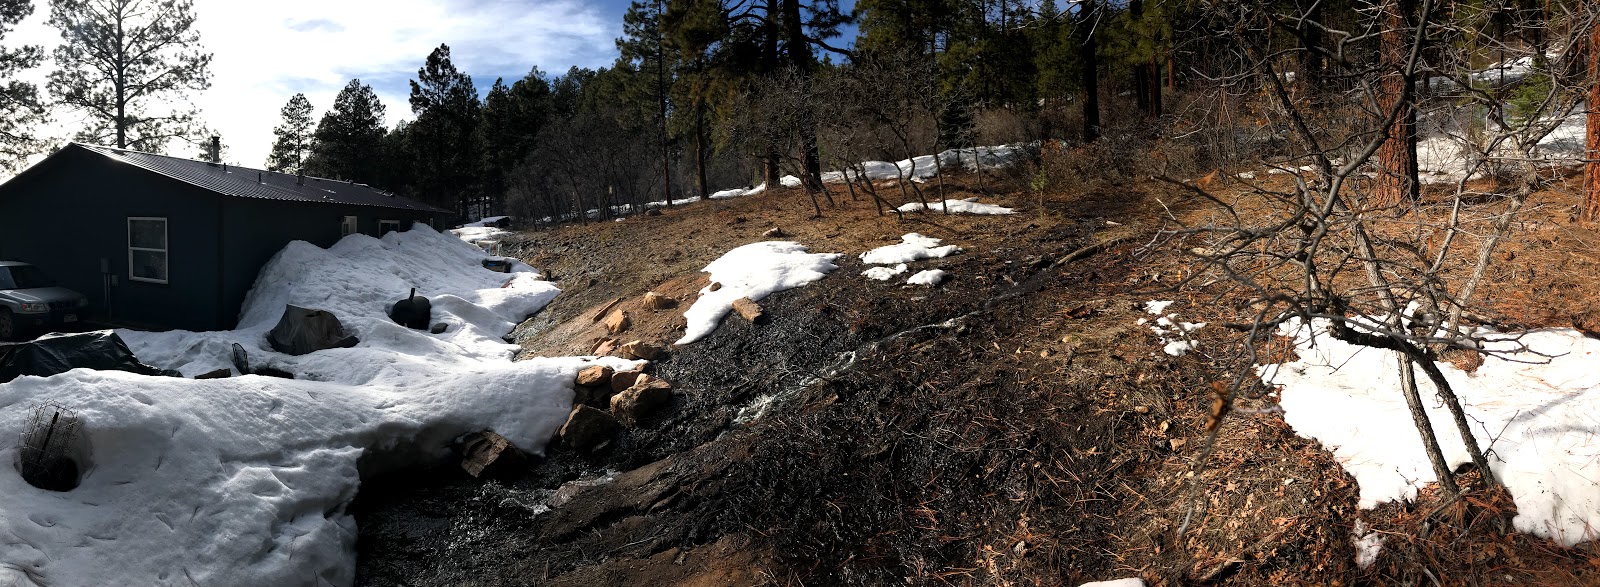
The back of my house- snow and a temp creek

So I recently went on a walk of my property.  It has a lot of runoff.... So the water leaches up from the ground and runs down.  Gravity, you know.  If you're thinking about moving to CO, please be prepared to deal.  Mother Nature is a Bi-Polar one.. one minute it's sunny and 75* and the next she is SNOWING.... in JUNE. We often yell, " Go home Mother Nature, you're drunk!!"
Everyone else is posting all these springy pics of blooming trees and greening grass, and I'm over here like, "WTF."


Poor Greenhouse.  Prolly trash now.

Mini bog flowing down 

#dodgeram commercial?!?
Me in front of my temp creek/waterfall. Makes for nice acoustics.
If you can't beat 'em, join 'em! Loving the trickling water noise!


 Enjoy the uncertainty!

Peace, Love and Paintbrushes~